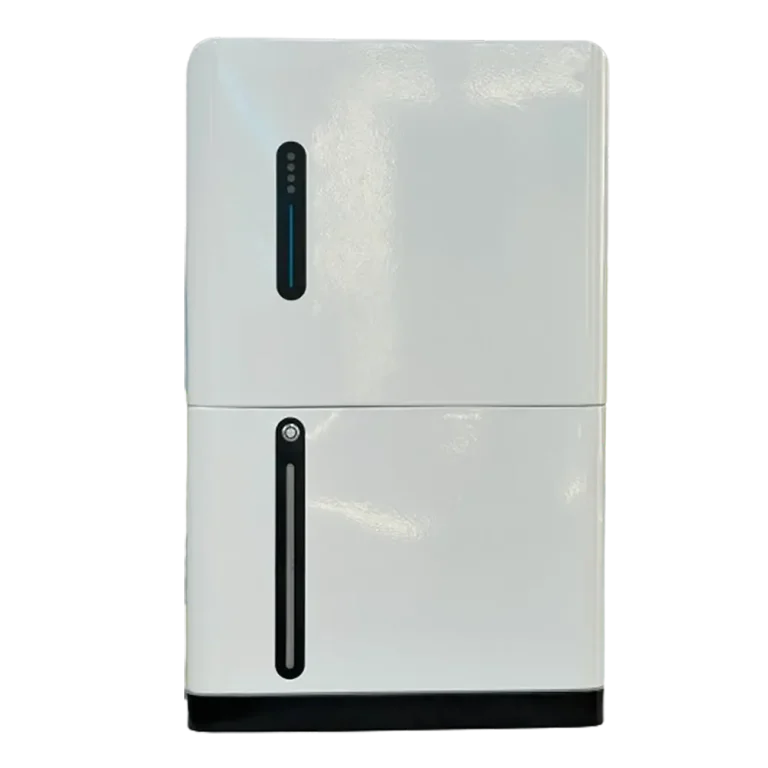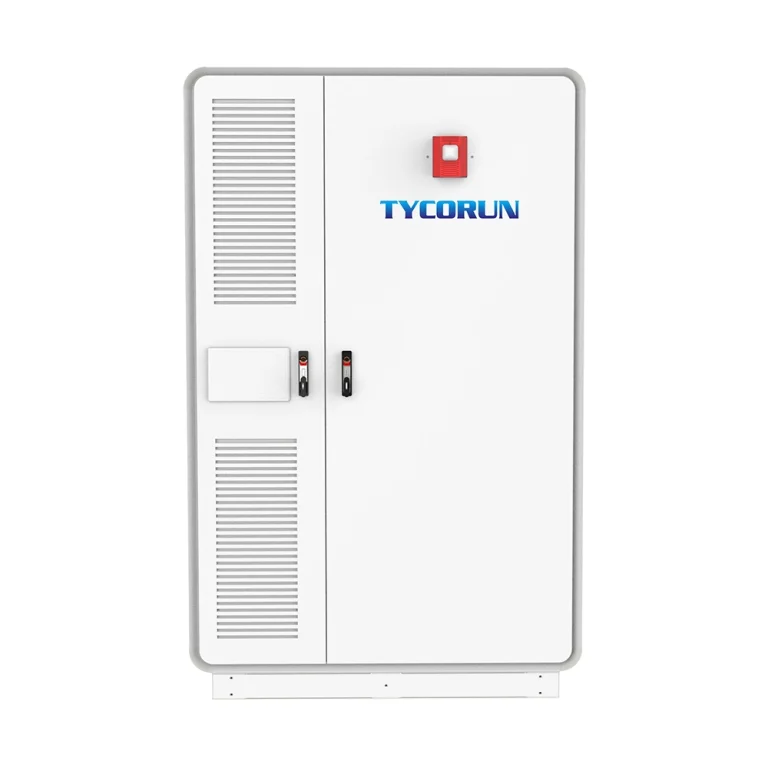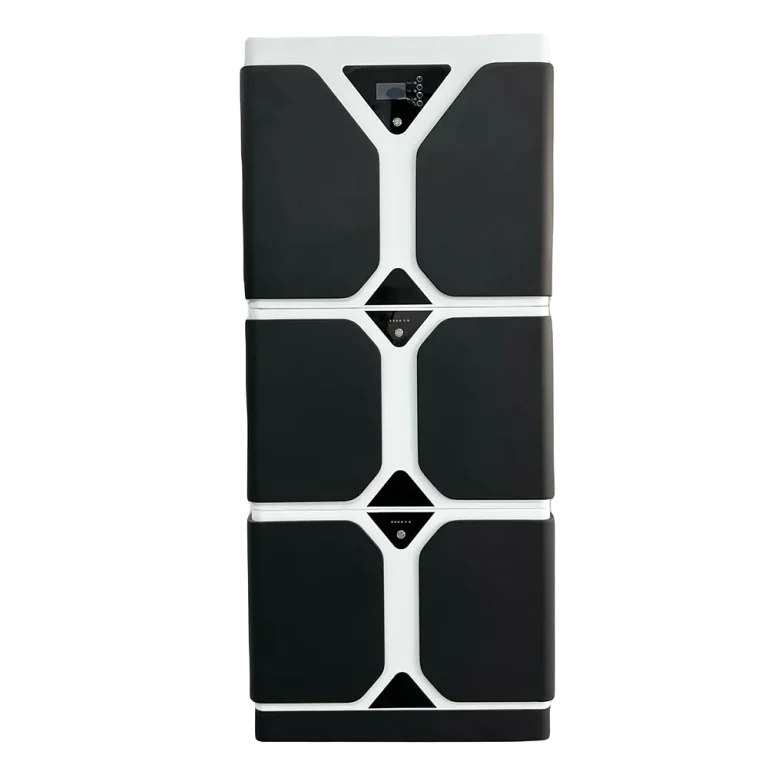



Nowadays, many homes and businesses are starting to rely on Energy Storage Systems (ESS) as a precaution in case of sudden power outages. ESS actually consists of four main components that work together. The first is a battery that stores energy, then there is a BMS whose job is to regulate battery safety. The third is a controller for recharging, and the last is an inverter, which plays an important role in converting battery current.
All four components are very important. However, the inverter is often referred to as the control center. Without an inverter, the energy stored in the battery cannot be used to power household appliances. But the inverter cannot work alone, it needs an inverter battery as a backup energy source. Over time, the inverter battery can wear out and need to be replaced. This is where knowing how to change inverter battery becomes important.
In this article, we will look at how to change the inverter battery. First, we will go over how to recognize the warning indications of an inverter, the method to change the inverter, and how to keep it in optimal condition. Let’s dive deeper.
What Is an Inverter Battery?
Before going into the steps on how to change inverter battery, it is important for users to know what an inverter battery is. An inverter battery is a special battery used to store electricity. The stored electricity will then be fed into the inverter to convert the current from DC (Direct Current) to AC (Alternating Current).

The current converted by the inverter can then be used by household appliances, ranging from lights, fans, and other electronic devices. So, without an inverter battery, the inverter cannot process the current because there is no energy source.
What makes an inverter battery different from a regular battery? The difference is that an inverter battery is designed to be durable and can be recharged multiple times. That is why inverter batteries play an important role in backup power systems.
Sign You Need To Change Your Inverter Battery
Before discussing how to change inverter battery, it is important to know when it is time to replace the battery. There are several signs that often appear and indicate that it is time to replace the inverter battery. These signs are as follows:

- Backup time is getting shorter.
When the inverter battery is used, its battery capacity begins to decrease, unlike before when it could be used for hours. - Frequent recharging is required.
A healthy inverter battery usually takes a long time to charge. However, if the inverter battery needs to be charged frequently, it is a sign that the inverter battery is starting to weaken.
Learn more in our article on Rechargeable batteries - The battery feels excessively hot.
When in use, the inverter battery does change temperature slightly and becomes warm. However, if the temperature change is excessive, it is a sign that the inverter battery is not healthy. - There are strange noises or smells.
Inverter batteries usually emit a very faint noise when working. However, if the noise is quite loud, and there is a burning smell or other strange smells, this could be a sign of damage. - The battery has exceeded its service life.
Every battery has a service life, including inverter batteries, which is 3-5 years. If it has exceeded this, the battery capacity will decrease quickly.
Things to Check Before Replacing the Battery
To ensure that the process of changing the inverter battery runs safely and smoothly, there are several important things that users can check:

- Battery type and capacity
The new inverter battery to be installed must be compatible with the inverter. If it is not compatible, it can cause rapid damage. - Condition of cables and connectors
Before deciding to replace the inverter battery, users need to check the condition of the cables and connectors. Loose, rusty, or even melted cables can also cause problems for the battery. - Placement environment
Inverter batteries are quite sensitive to temperature. Therefore, users should replace the inverter battery in a dry but cool place. - Old battery age
As discussed earlier, inverter batteries have a lifespan of 3-5 years. So if it has been longer than that, it’s time to replace it.
By checking the above points, users are ready to learn the process of how to change inverter battery.
Explore more about this in our dedicated post on battery maintenance
Tools and Safety Precautions
After checking the condition of the battery inverter and confirming that it is ready for replacement, users need to prepare the tools and pay attention to safety before replacing the battery, so that the battery inverter replacement process runs smoothly.

Tools that are usually needed:
- Phillips screwdriver (+) and flat screwdriver (–)
- Rubber or insulated gloves
- Pliers or small wrench
- Dry cloth to clean dust or dirt
Things to note for safety:
- Turn off the inverter and unplug the main power source.
Before removing the battery, the inverter must be turned off. Also, make sure that no electricity is connected to the battery inverter. - Use protective gloves.
When replacing the battery, always use protective gloves to avoid electric shocks or battery fluid splashes. - Avoid sparks or cigarettes
Inverter batteries can emit gas, so they should not be placed near fire. - Pay attention to polarity (+/-)
When disconnecting or connecting the battery, ensure that the positive (+) and negative (–) terminals are not reversed. Reversing them can damage the inverter.
By preparing the tools and safety measures, users can proceed to understand the step-by-step process of how to change inverter battery.
Step-by-Step Guide: How to Change Inverter Battery
Once users know what tools are needed, now we will learn how to change inverter battery correctly:

- Turn off the inverter and unplug the main power supply.
Before starting, the inverter must be turned off and the main power supply disconnected. - Carefully remove the old battery
Remove the battery in the correct order to avoid a short circuit. Start by disconnecting the negative (–) cable first, then the positive (+) cable. After that, lift out the old battery and clean the battery terminal area. - Install the new battery
After the old battery has been successfully removed, the user can then place the new battery in the correct position. Then reconnect the cables in the correct order, starting with the positive (+) cable first, followed by the negative (–) cable. - Turn on and check
Once installed, turn on the inverter and check the indicator or display. If everything is normal, the battery replacement process has been successful
Curious to know more? See our explanation of How to change solar battery
Tips to Maintain Your Inverter Battery
After learning how to change inverter battery users also need to know how to maintain the inverter battery so that it lasts longer. Here are some tips for maintaining your inverter battery:

- Use it regularly
Users can use the inverter battery occasionally even when the main power supply is normal. This can keep the battery active and prevent it from weakening easily. - Keep the terminals clean
Dirty battery terminals, such as those covered in dust or rust, can interfere with the flow of electricity. Therefore, users need to clean the battery terminals regularly using a dry cloth or soft brush. - Pay attention to ventilation
As mentioned earlier, batteries are vulnerable to extreme temperatures. Therefore, when storing the battery inverter, the environment must be cool and have good air circulation. - Do not overcharge
Overcharging can cause the battery to deteriorate quickly and shorten its lifespan. Therefore, charge it according to its capacity.
Conclusion
Understanding how to change inverter battery is not just about learning the steps. It also allows users to understand the role of batteries in providing backup power. By recognizing the signs of a weakening inverter battery early on, you can prevent serious damage to the inverter.
Additionally, to keep the inverter battery in good condition, users can clean the battery terminals, place the inverter battery in a well-ventilated area, and avoid overcharging the battery when charging. By learning how to change inverter battery and doing all of this, the inverter battery will be ready to use whenever needed.
FAQS
Usually, an inverter battery needs to be replaced every 3–5 years. But of course, it really depends on how often you use it, how well you maintain it, and whether you notice signs like shorter backup time or frequent charging.
Yes, you can, as long as you follow the right steps and safety precautions. Because by turning off the inverter, disconnecting the power supply, and carefully handling the cables, the process is actually quite simple. Still, if you don’t feel confident, calling a technician is always the safer choice.
A new inverter battery typically lasts between 3 to 5 years with proper care. Regular maintenance, avoiding overcharging, and ensuring good ventilation can help extend its lifespan


 +86 – 18925002618